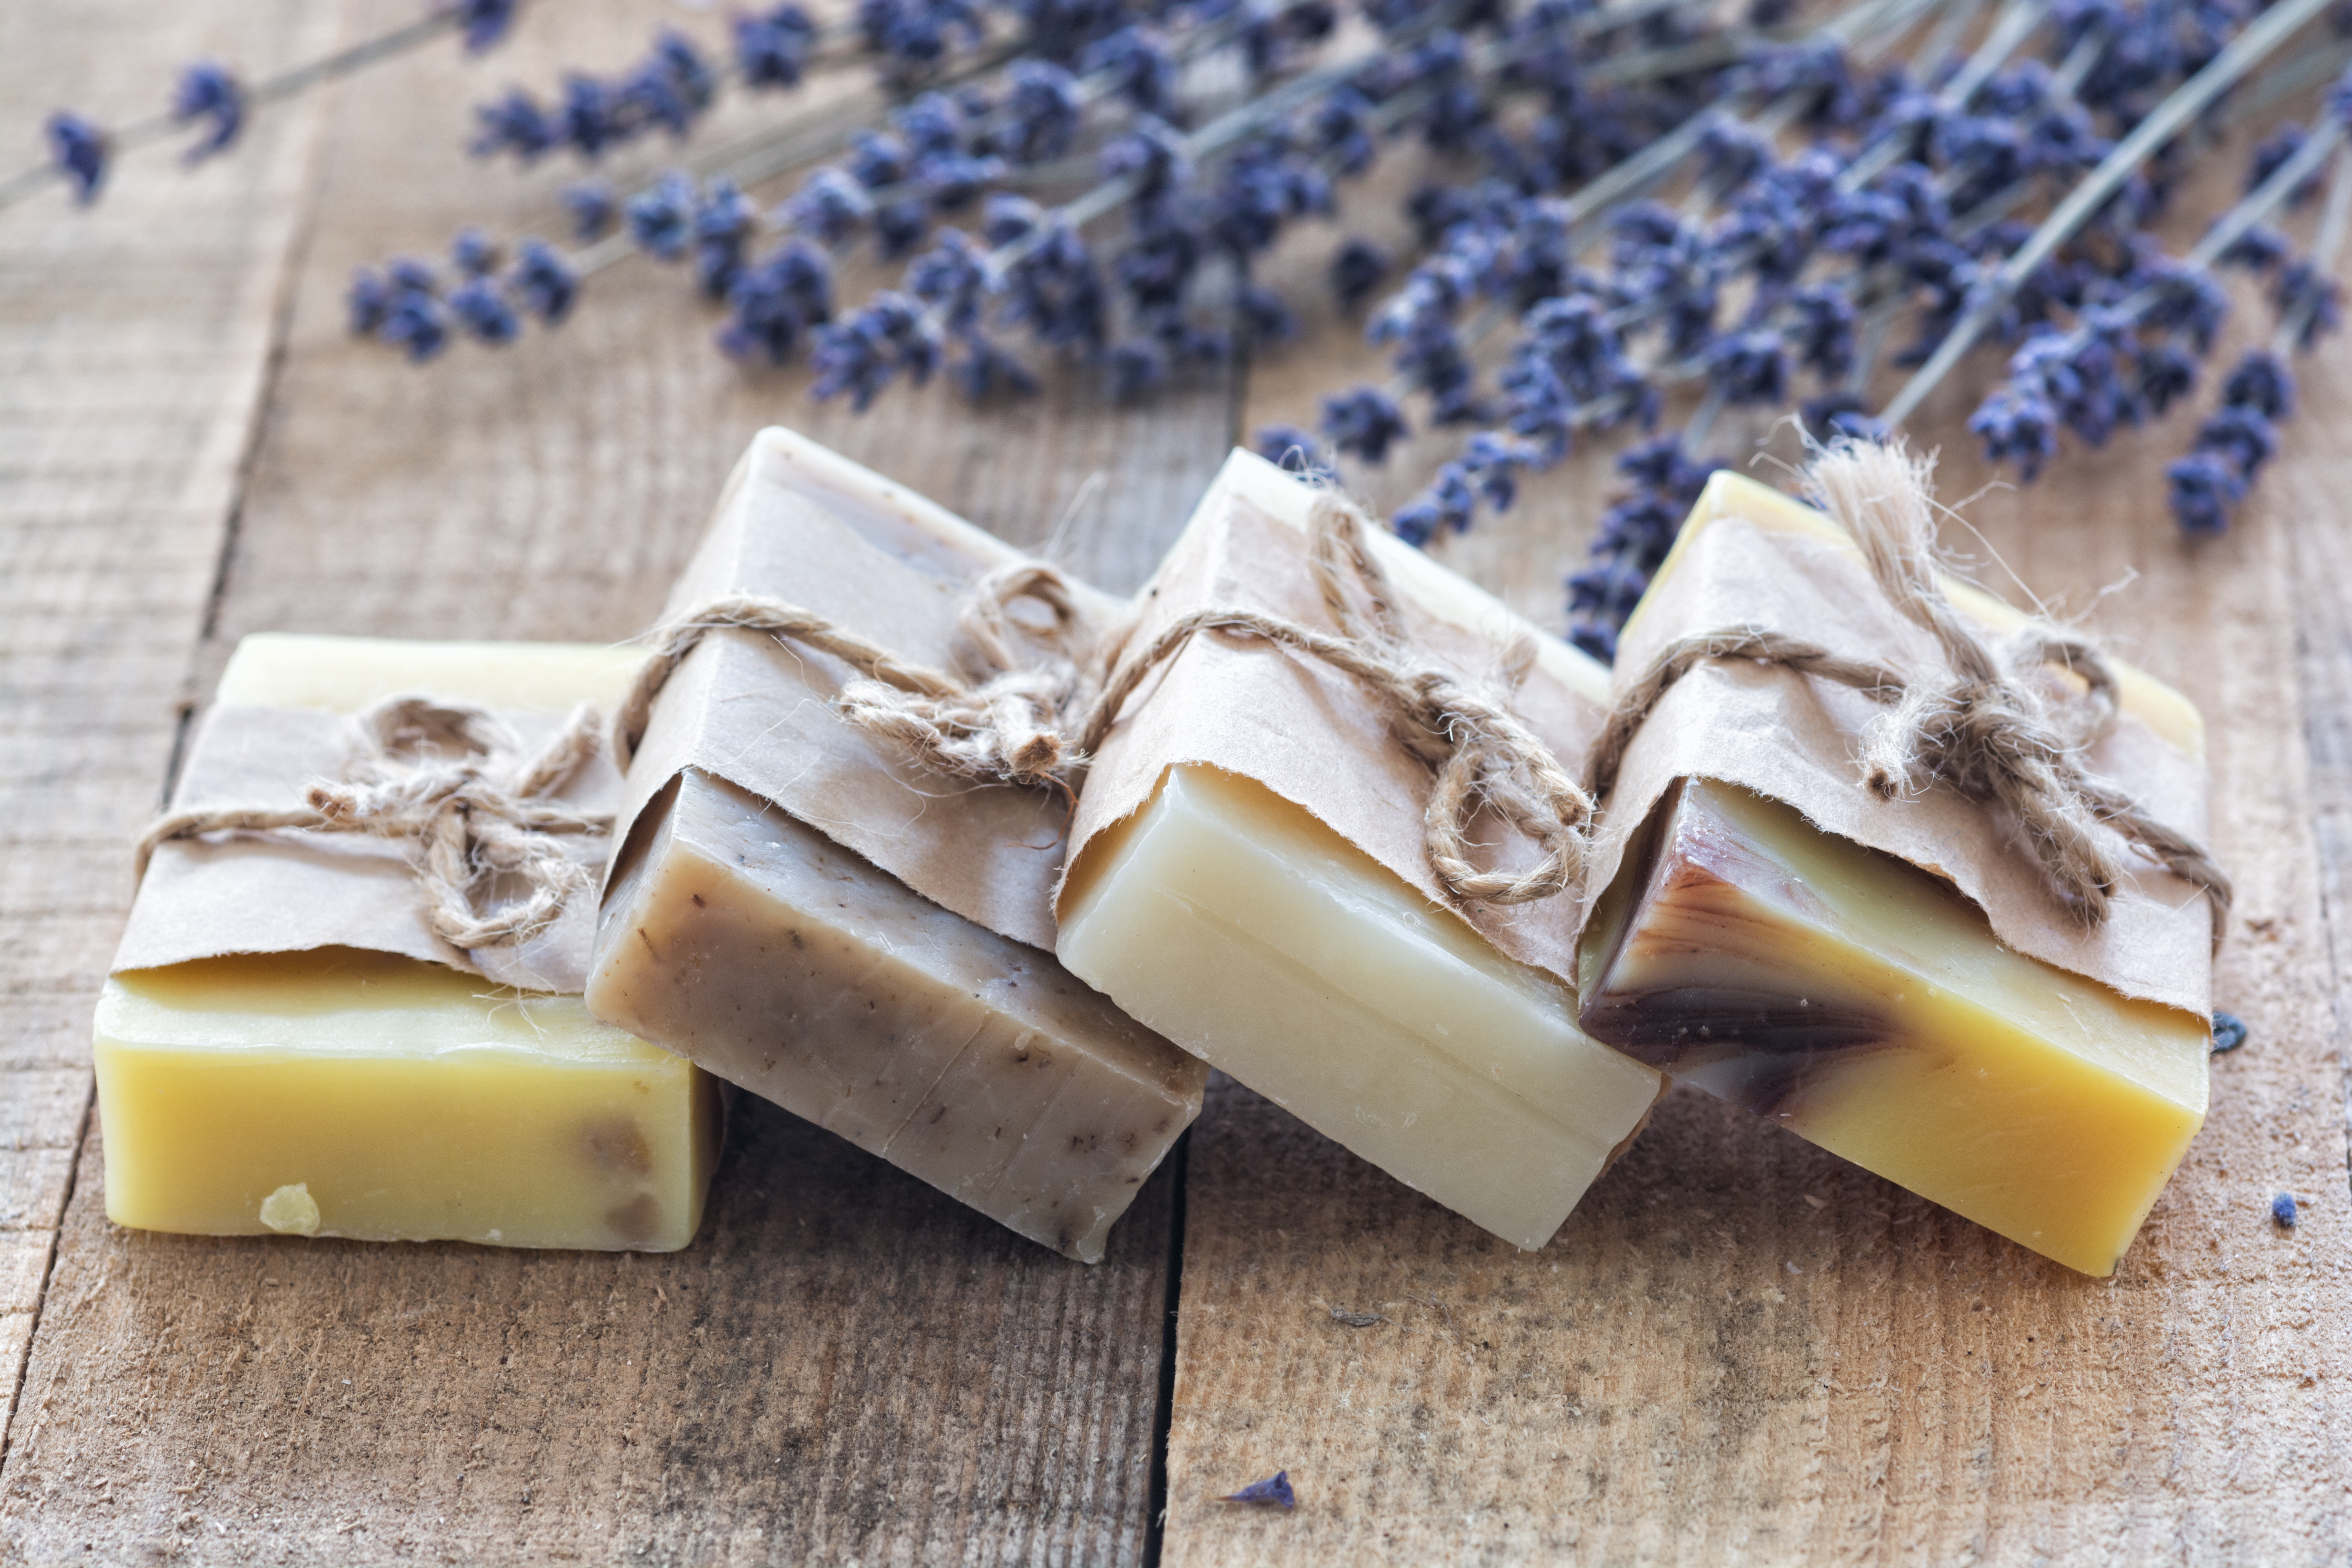
Homemade Soap: A Guide to Making Your Own Natural Soap

Ingredients
The first step in making homemade soap is gathering your ingredients. You'll need:
- Soap base (glycerin or shea butter)
- Essential oils
- Herbs or flowers (optional)
- Natural colorants (e.g. turmeric, beetroot powder)
- Molds
- Double boiler or microwave-safe bowl
- Measuring cups and spoons
- Thermometer
- Knife
Step 1: Melt the Soap Base
The first step in making homemade soap is melting the soap base. If you're using a glycerin soap base, you can melt it in the microwave. If you're using a shea butter soap base, you'll need to melt it using a double boiler. Heat the soap base until it reaches a temperature of about 140-150°F.
Step 2: Add Essential Oils and Herbs
Once the soap base has melted, you can add your essential oils and herbs. Be sure to choose essential oils that are safe for skin use and that complement each other. You can also add herbs or flowers for added fragrance and color. Stir the ingredients together until they're evenly distributed.
Step 3: Add Natural Colorants
If you want to add color to your soap, you can use natural colorants like turmeric or beetroot powder. Add a small amount of the colorant to the soap base and stir until it's evenly distributed. Be careful not to add too much, as this can affect the texture of the soap.
Step 4: Pour the Soap into Molds
Once you've added your scents and colors, it's time to pour the soap into molds. You can use any type of mold you like, such as silicone molds or soap molds. Fill the molds with the soap base and tap them gently to remove any air bubbles. Let the soap cool and harden for several hours or overnight.
Step 5: Remove the Soap from the Molds
Once the soap has hardened, you can remove it from the molds. Gently push on the bottom of the molds to release the soap. If the soap is difficult to remove, you can place the molds in the freezer for a few minutes to loosen the soap.
Benefits of Homemade Soap
Homemade soap has many benefits for your skin. Because it's made with all-natural ingredients, it's gentle and nourishing for all skin types. Homemade soap also contains glycerin, a natural moisturizer that helps to hydrate and protect your skin. In addition, making your own soap allows you to customize it to your skin's specific needs, such as adding ingredients that target acne or dry skin.
Drawbacks of Homemade Soap
While homemade soap has many benefits, there are also some drawbacks to consider. Making your own soap requires time and effort, and it can be difficult to get the proportions of ingredients just right. In addition, if you're not careful, you can accidentally expose yourself to lye, a caustic substance that's used in soap-making. It's important to follow all safety precautions when making homemade soap.
FAQ
Q: Is homemade soap better than store-bought soap?
A: Homemade soap is often better for your skin than store-bought soap, as it's made with all-natural ingredients. However, it's important to follow a recipe and use proper safety precautions to avoid any accidents.
Q: What are some common ingredients used in homemade soap?
A: Common ingredients in homemade soap include natural oils, essential oils, herbs, and flowers.
Q: Can I use homemade soap on my face?
A: Yes, homemade soap is gentle enough to use on your face. However, it's important to choose ingredients that are safe for facial use and won't clog your pores.
Q: How long does homemade soap last?
A: Homemade soap can last up to a year if stored properly in a cool, dry place.
Conclusion
Making your own homemade soap is a rewarding and fun hobby that allows you to care for your skin naturally. With the right ingredients and safety precautions, you can create a soap that's customized to your skin's specific needs. Remember to follow a recipe and use proper safety precautions to avoid any accidents. Happy soap-making!
